What is SSL?
As an internet user, it’s very likely that you have seen SSL already!
Secure Socket Layer (or SSL) is a virtual certificate that secures and encrypts your personal information, passwords, banking information, and more in the connection between your computer and the website you are accessing. This is done by confirming the connection is secured, and that the website is authentic to what it purports to be. This is often shown as the URL being https, that is, the traditional http, plus SSL.
Due to the benefits and security delivered by SSL, it has quickly become the standard for online security – particularly in e-commerce. SSL supports site security, raises customer confidence, and can increase your SEO performance.
To reflect this shift, Google Chrome will start displaying warnings for unsecured websites as of July 2018. This means if your site does not have SSL, it will impact your SEO performance, and display a security warning – impacting customer confidence.
So how do you install and configure SSL?
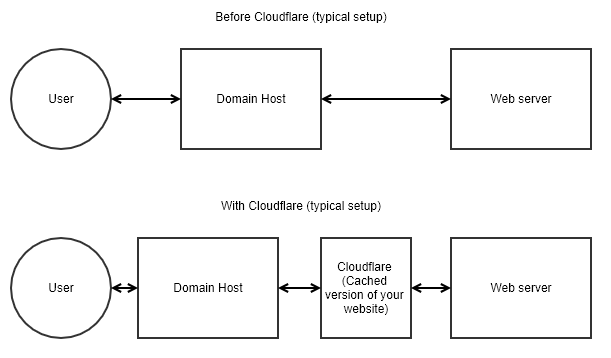
Here at Hivemind Consulting, we’ve deployed SSL for many clients. To give you an idea of the process, find our helpful tutorial below! We recommend using Cloudflare, which also assists in faster load times and increased site stability.
1 – Ensure WordPress is up to date
Before making any major changes to your site, make sure your WordPress core databases, and plugins are up to date, and that you’ve made a backup!
2 – Install the Cloudflare plugin
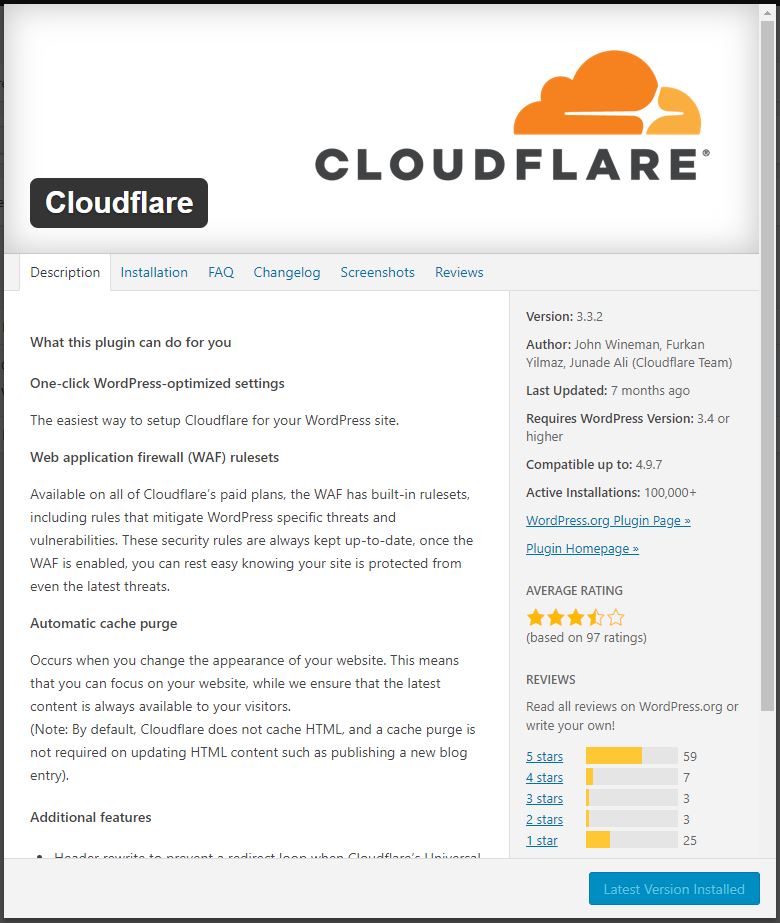
You’ll need the official plugin from Cloudflare available here. To install, click ‘Add New’ in the Plugins menu, upload the plugin, and install it.

3 – Sign up for a free Cloudflare account
Head over to the Cloudflare website, register an account, and confirm your email.
4 – Add your website to Cloudflare
Click on +Add site at the top right, and follow the prompts to add your website. It will then detect your configuration in most cases (it may require manual calibration for complex sites. You will then be issued with several ‘nameservers’ to use.

5 – Setup your domain
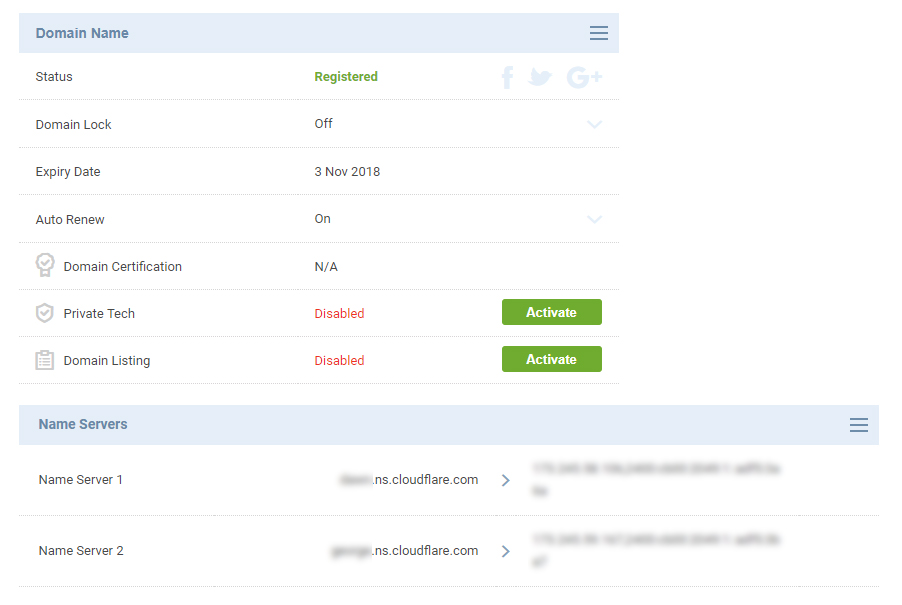
The aforementioned nameservers provided by Cloudflare will then need to be directed through your domain to the server.

Log into where you bought your domain, and open the settings for your domain (in this example we’ll be using CrazyDomains). You’ll need to change the nameservers from default (be sure to note down what the old ones are just in case) to the ones that Cloudflare supplied you with (you may need to wait a few hours for this to update).

6 – Activate SSL
With everything configured correctly, go back over to Cloudflare’s website and go to the DNS tab. From here, recheck nameservers and your site will activate on Cloudflare!

You’ll now want to connect the Cloudflare with their plugin on your website. To do this, head to your Cloudflare profile, and click View next to Global API key. Copy this string of letters and numbers, and then go to your WordPress Admin dashboard. Select Settings>Cloudflare, and add your API key. This will connect the two.
Head back over to Cloudflare, and click on the Crypto tab. From here, you have a selection of different configurations (this is important!)
- Flexible is appropriate for most sites. It secures the connection between the user and the Cloudflare server. This is useful if the original server didn’t have any SSL installed. This option may result in a loop, however, if not correctly configured. Select this one if you haven’t bought HTTPS/SSL in the past.
- Full is appropriate if you have already had SSL installed previously, but you’re looking to use Cloudflare’s features. However on this selection, Cloudflare will not verify yourself or the connection. Select this one if you already have HTTPS/SSL installed.
- Full (Strict) is the most secure, with the SSL certificate signed by a trusted CA or Cloudflare Origin CA. However, this requires further set up and support to deploy. This should not be attempted without prior experience in SSL.
Whichever option you have selected, you will need to wait until Cloudflare reports Universal SSL Status – Active Certificate. Once issued, install and activate the Really Simple SSL plugin (it’s as simple as it sounds) on WordPress.
7 – Conclusion
Now with your site on Cloudflare and activated, the security certificate active, and your website connected, go back to your WordPress Admin dashboard, and bring up the Cloudflare configuration screen under Settings – Cloudflare. Go to Settings and select the following settings:
- Always Online – ON
- Automatic HTTPS Rewrites – ON
With these changes made, in WordPress, go to Settings – SSL and follow the prompts to automatically set it up. Your website should now successfully reload as HTTPS, and all you’ll need to do is log back in to WordPress!

Modifying or altering the back end of your website without sufficient experience or knowledge may result in damage or loss.
This information is intended to be general advice, and may not be applicable or suitable for your particular installation or configuration. Hivemind Consulting does not take any responsibility for damage or loss caused by the use of this information. We suggest seeking professional assistance should you not be confident in this area.
Feel free to contact us if you’d like to have a friendly chat on how we can assist you!


